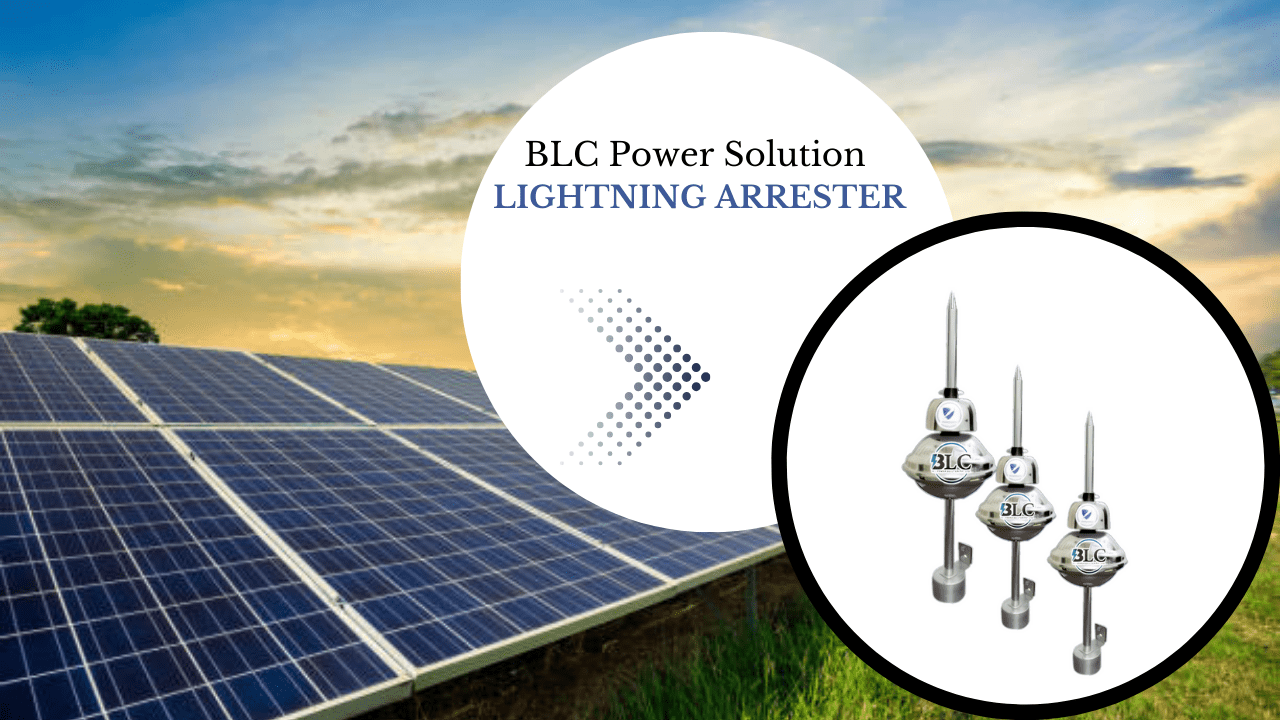
The demand for innovative energy sources is increasing, and solar energy has become a promising solution to meet our energy needs. However, amid the enthusiasm for solar panels, prioritizing safety and efficacy is extremely important. One part of solar panel installations that often gets neglected is proper earthing. Earthing plays an important role in keeping the system safe and protecting its surroundings. In this detailed guide, we will walk you through a step-by-step process of earthing solar panels, ensuring both safety and efficacy.
Role of Earthing in solar panels
Economizing performance in solar panels holds significance for various reasons. First and foremost, it ensures security. Solar panels harness energy from the sun’s rays, and like any electrical system, they entail safety risks. Secondly, it safeguards equipment. Electrical faults or lightning strikes can inflict damage on solar inverters, charge controllers, and other components of solar systems. Thirdly, it shields against lightning. Particularly, rooftop-installed solar panels are vulnerable during lightning strikes. Without proper earthing, lightning can induce high voltage across them, potentially damaging the equipment.
Why is earthing compulsory for solar panels?
Earthing is essential for solar panels due to critical safety and operational reasons. Firstly, it ensures the safety of the system and surrounding areas by establishing a low-resistance path for fault currents, thus preventing electric shock and equipment damage. Secondly, it shields solar panel components from damage caused by electrical faults or lightning strikes, thereby enhancing system longevity. Additionally, proper earthing improves system reliability and efficiency by maintaining stable electrical potentials and reducing electromagnetic interference. Without adequate earthing, solar panels are susceptible to transient overvoltages, which can degrade performance and pose safety hazards. In conclusion, proper earthing is crucial for ensuring the safety, reliability, and longevity of solar panel installations, making it a fundamental requirement in solar power systems worldwide.
Here are the steps to achieve proper earthing:
Step 1: Understand Local Regulations and Standards
Before beginning any installation work, it is important to understand local regulations, building rules and industry standards related to the economization of solar panels. These regulations may vary depending on your location and may set requirements such as the type of soil approved for earthworks, depth, and testing procedures..
Step 2: Select Suitable Earthing Electrodes


The choice of grounding electrodes plays a crucial role in the effectiveness of the earthing system. Common grounding electrodes used in solar panel installations include copper rods, plates, or cables. Factors such as soil composition, moisture levels, and proximity to other electrical systems should be considered when selecting the appropriate grounding electrodes.
Step 3:Determine the Placement of Earthing Electrodes
After placing the earthing electrodes, connect the solar panels to the grounding system. This involves establishing electrical connections between the solar panel frames or mounting structures and the grounding electrodes. Ensure that you secure all connections and keep them free from corrosion to maintain low electrical resistance.
Step 4: Install Earthing Electrodes
With the locations identified, proceed with the installation of the grounding electrodes. This typically involves digging trenches or holes to accommodate the electrodes and ensuring they are securely anchored in the ground. Proper bonding between the electrodes and other metallic components of the solar panel system, such as mounting structures and equipment enclosures, is essential to establish a continuous grounding path.
Step 5: Connect Solar Panels to Earthing System
Once you place the earthing electrodes, connect the solar panels to the grounding system. This requires establishing electrical connections between the solar panel frames or mounting structures and the grounding electrodes. Ensure that you secure all connections and keep them free from corrosion to maintain low electrical resistance.
Step 6: Test and Verify the Earthing System
After installation is complete, it is important to test and confirm the efficacy of the economization system. This may include soil conductivity testing, cohesion testing, and confirming proper bonding between components. Testing must be carried out using specialist equipment and in accordance with industry standards to ensure accurate results.
Step 7: Regular Maintenance and Monitoring
Once the earthing system is in place, establish a routine maintenance schedule to ensure its continued effectiveness. Periodic inspections should be conducted to check for signs of corrosion, damage, or loose connections. Additionally, monitor the performance of the earthing system over time to detect any potential issues early and address them promptly.
Final Words
Proper earthing of solar panels is a critical aspect of ensuring the safety, reliability, and efficiency of solar power systems. By following the step-by-step guide outlined above and adhering to local regulations and industry standards, installers can create robust earthing systems that provide protection against electrical hazards and ensure the long-term performance of solar panel installations. As the adoption of solar energy continues to grow, prioritizing safety measures such as proper earthing becomes indispensable for a sustainable energy future.


